
WarBlock Receiver Height AR15 Gas Block CNC Machining (5): top side Picatinny rail and bottom features
We start out this entry addressing the backlash issue that came up in the X-axis. It turned out a collar came loose and wasn’t captivating the ballscrew bearings securely. I double checked the X and then the Y since they are the easiest to access right now. The Z will require taking off the way cover and way cover plate that I had previous caulked up to prevent coolant from leaking under the mill. The collars were not loose as far as I could tell but I put a little bit of torque on them by hand to make sure they were tight then I tightened the set screws (some of which were loose). This definitely fixed the X-axis backlash but I can’t really say if it improved the backlash overall because as I’ve found out my Haimer 3D Taster has some X and Y backlash in the dial that I may have been previously blaming on the machine. Nevertheless the actual measured backlash as measured with a 0.0005″ dial test indicator showed no backlash when moving the axes as little as 0.00005″ or half a tenth! Haimer has written me and said that sending My 3D Taster to them for evaluation can cost as much as half the price of a new one. Soooo, I won’t be doing that anytime soon. I love the 3D taster but the gross price increases are a real turn off, the price of the probe tips have doubled recently to north of $45 each for the short ones. Ouch!
My Taster with an assortment of broken probes, the largest and most expensive just shattered as I went to garage to take this picture.
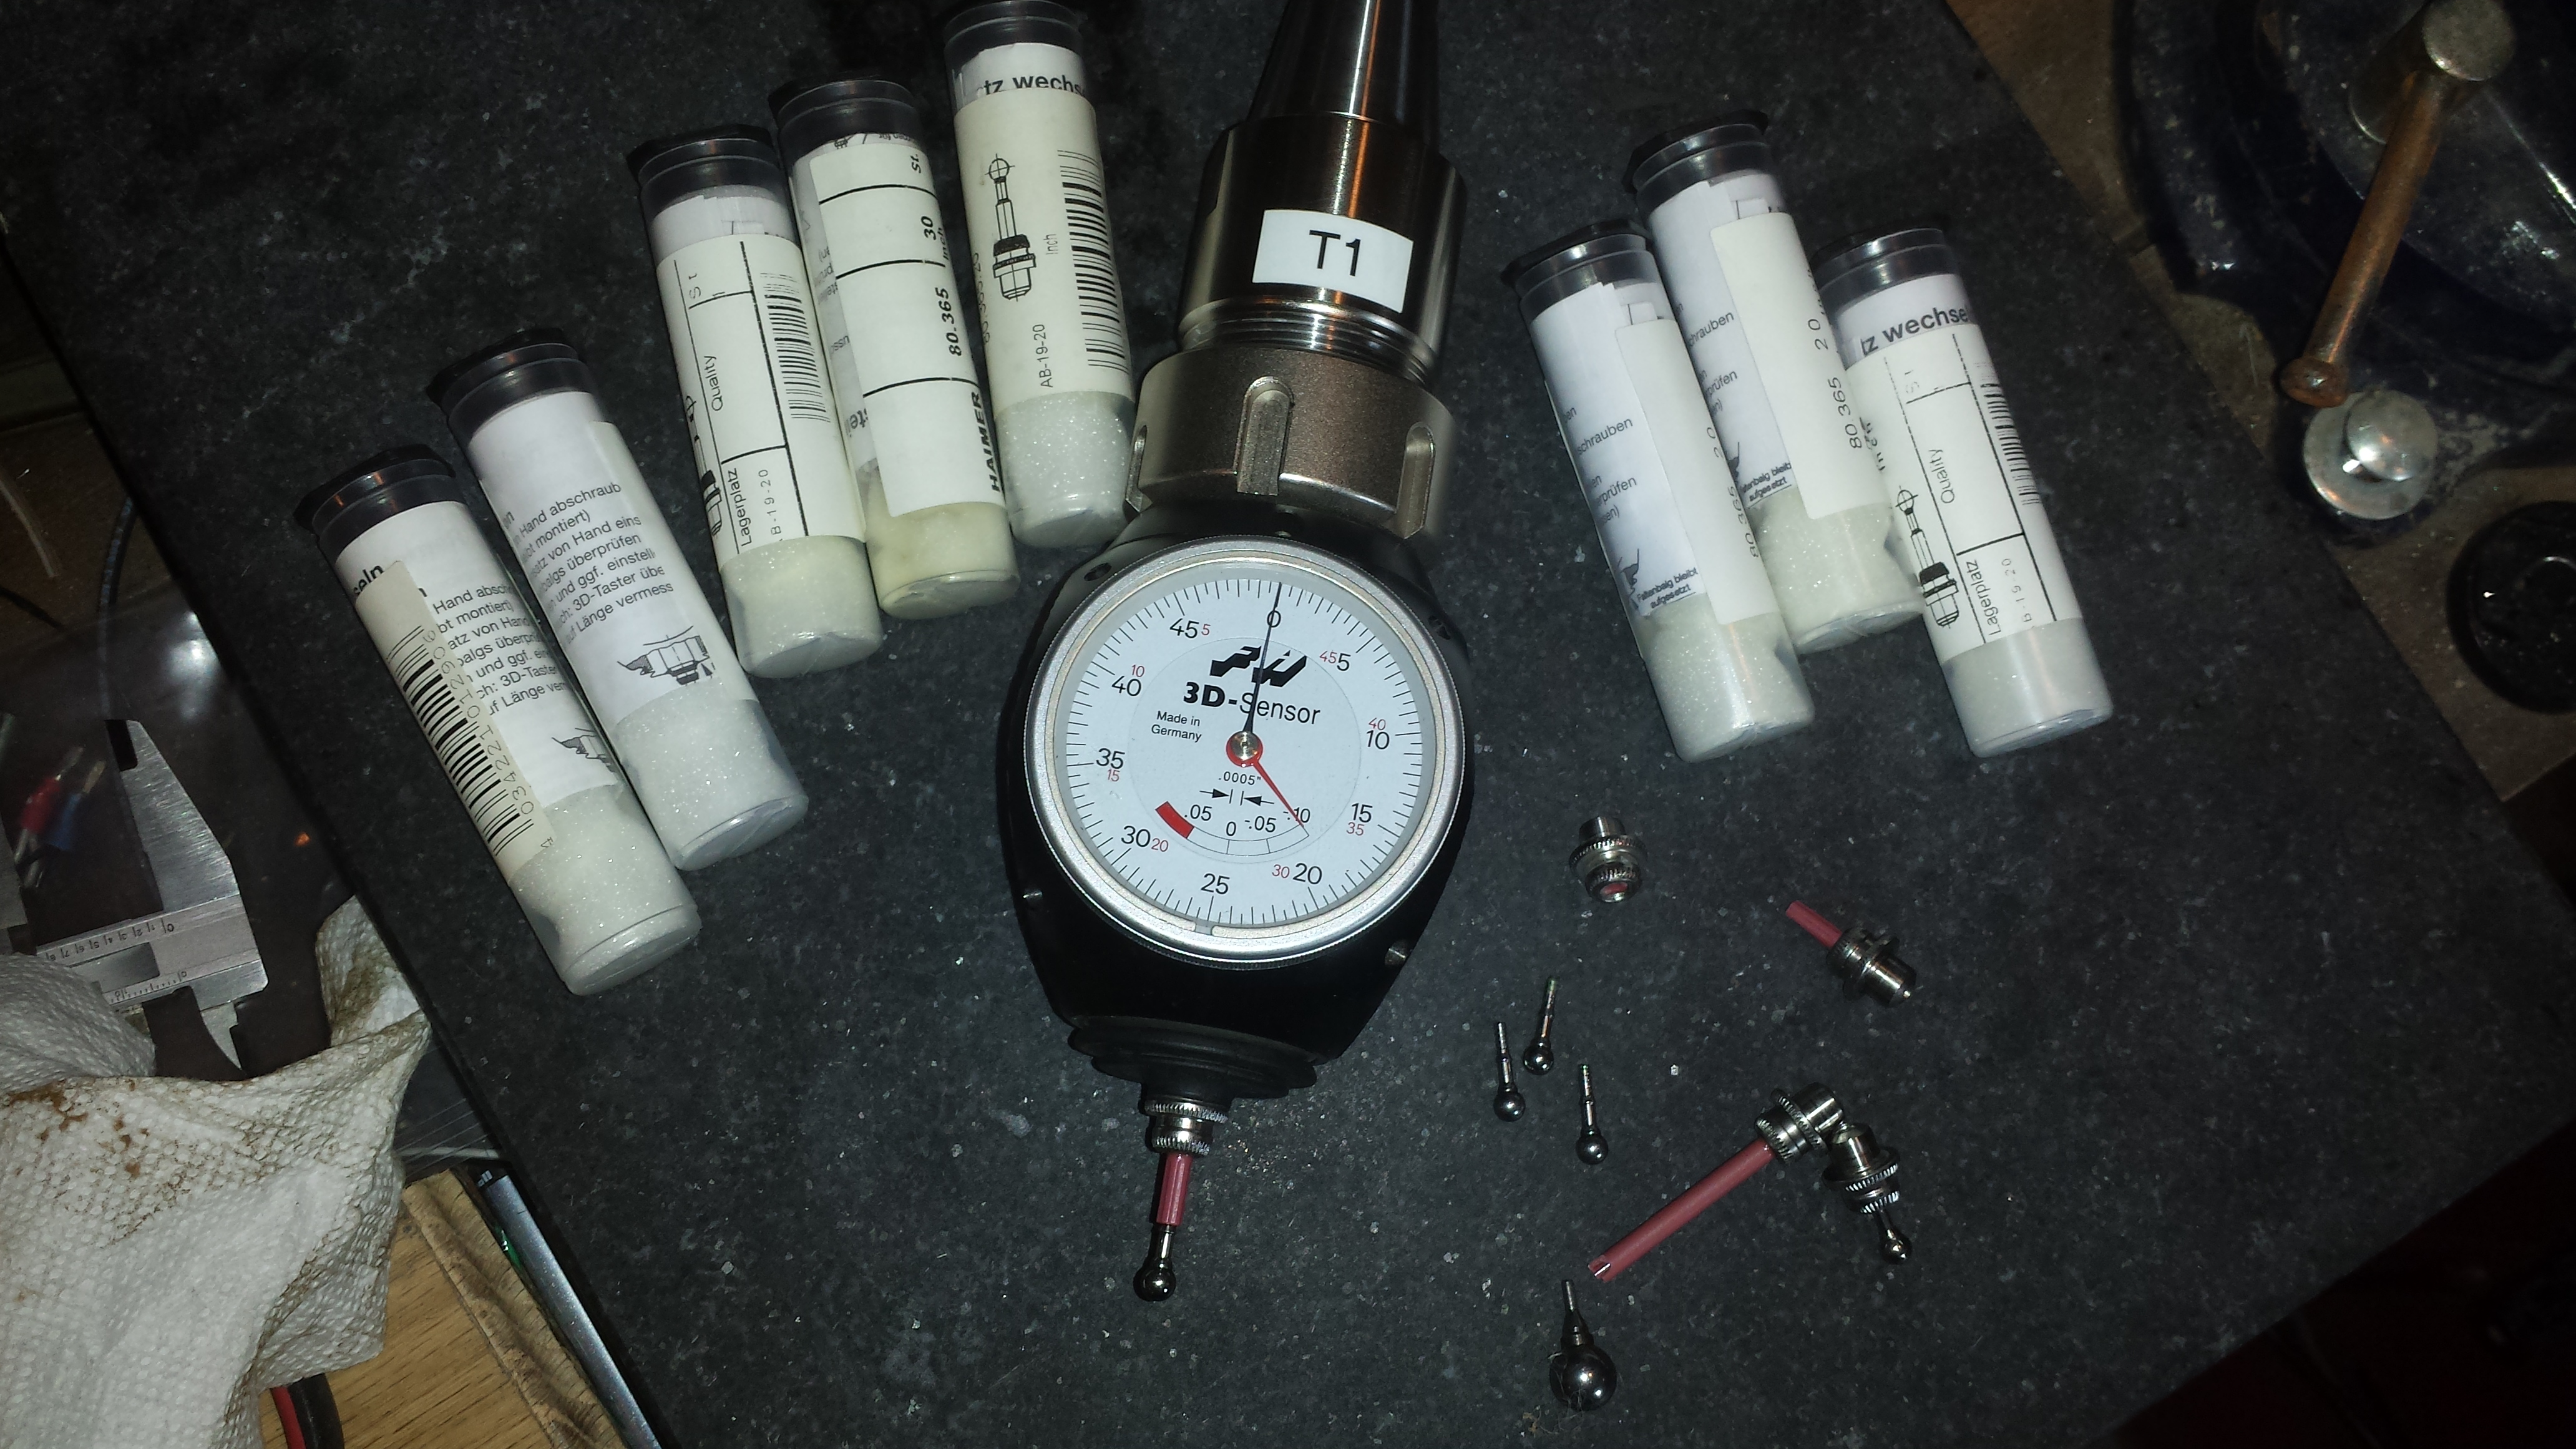
Well that was an expensive picture. As I was setting the long 0.4″ probe on the surface plate to get a group photo it shattered. Very pissed off right now, that one is at least $80. I will NOT be ordering another one. I’ll come back later and finish the post after I cool down. It sat safely in the drawer for years only used when needed until it met my surface plate with just a little too much Newton. Did I mention that not only are these things super expensive they are super fragile.
Moving on.
I also spoke with Carl at Lakeshorecarbide for awhile yesterday and he had some golden nuggets of info for me regarding ways to improve my cuts. Once I get a bore diameter dialed in I’m either going to continue to interpolate them or more likely use a reamer. The boring, even if I got a great surface finish, is simply too slow for production. He also gave me some great advice on tool selection for the finishing operations that I’ve never been happy with. Basically it is a long reach endmill that is only fluted on the bottom 1 inch. This makes the tool much more rigid and the extra flutes are not necessary if you are only taking depths less that 1 inch which I am. This tool also has a variable flute and a corner radius so less likely to chatter and to chip the flute tips. The RPM of the roughing cut he thought was also too high which is why there was so much chatter. Next time I cut one of these gasblocks I’m going to reduce the RPM in increments of 50 until the chatter goes away.
Lakeshorecarbide long reach Endmill
![]()
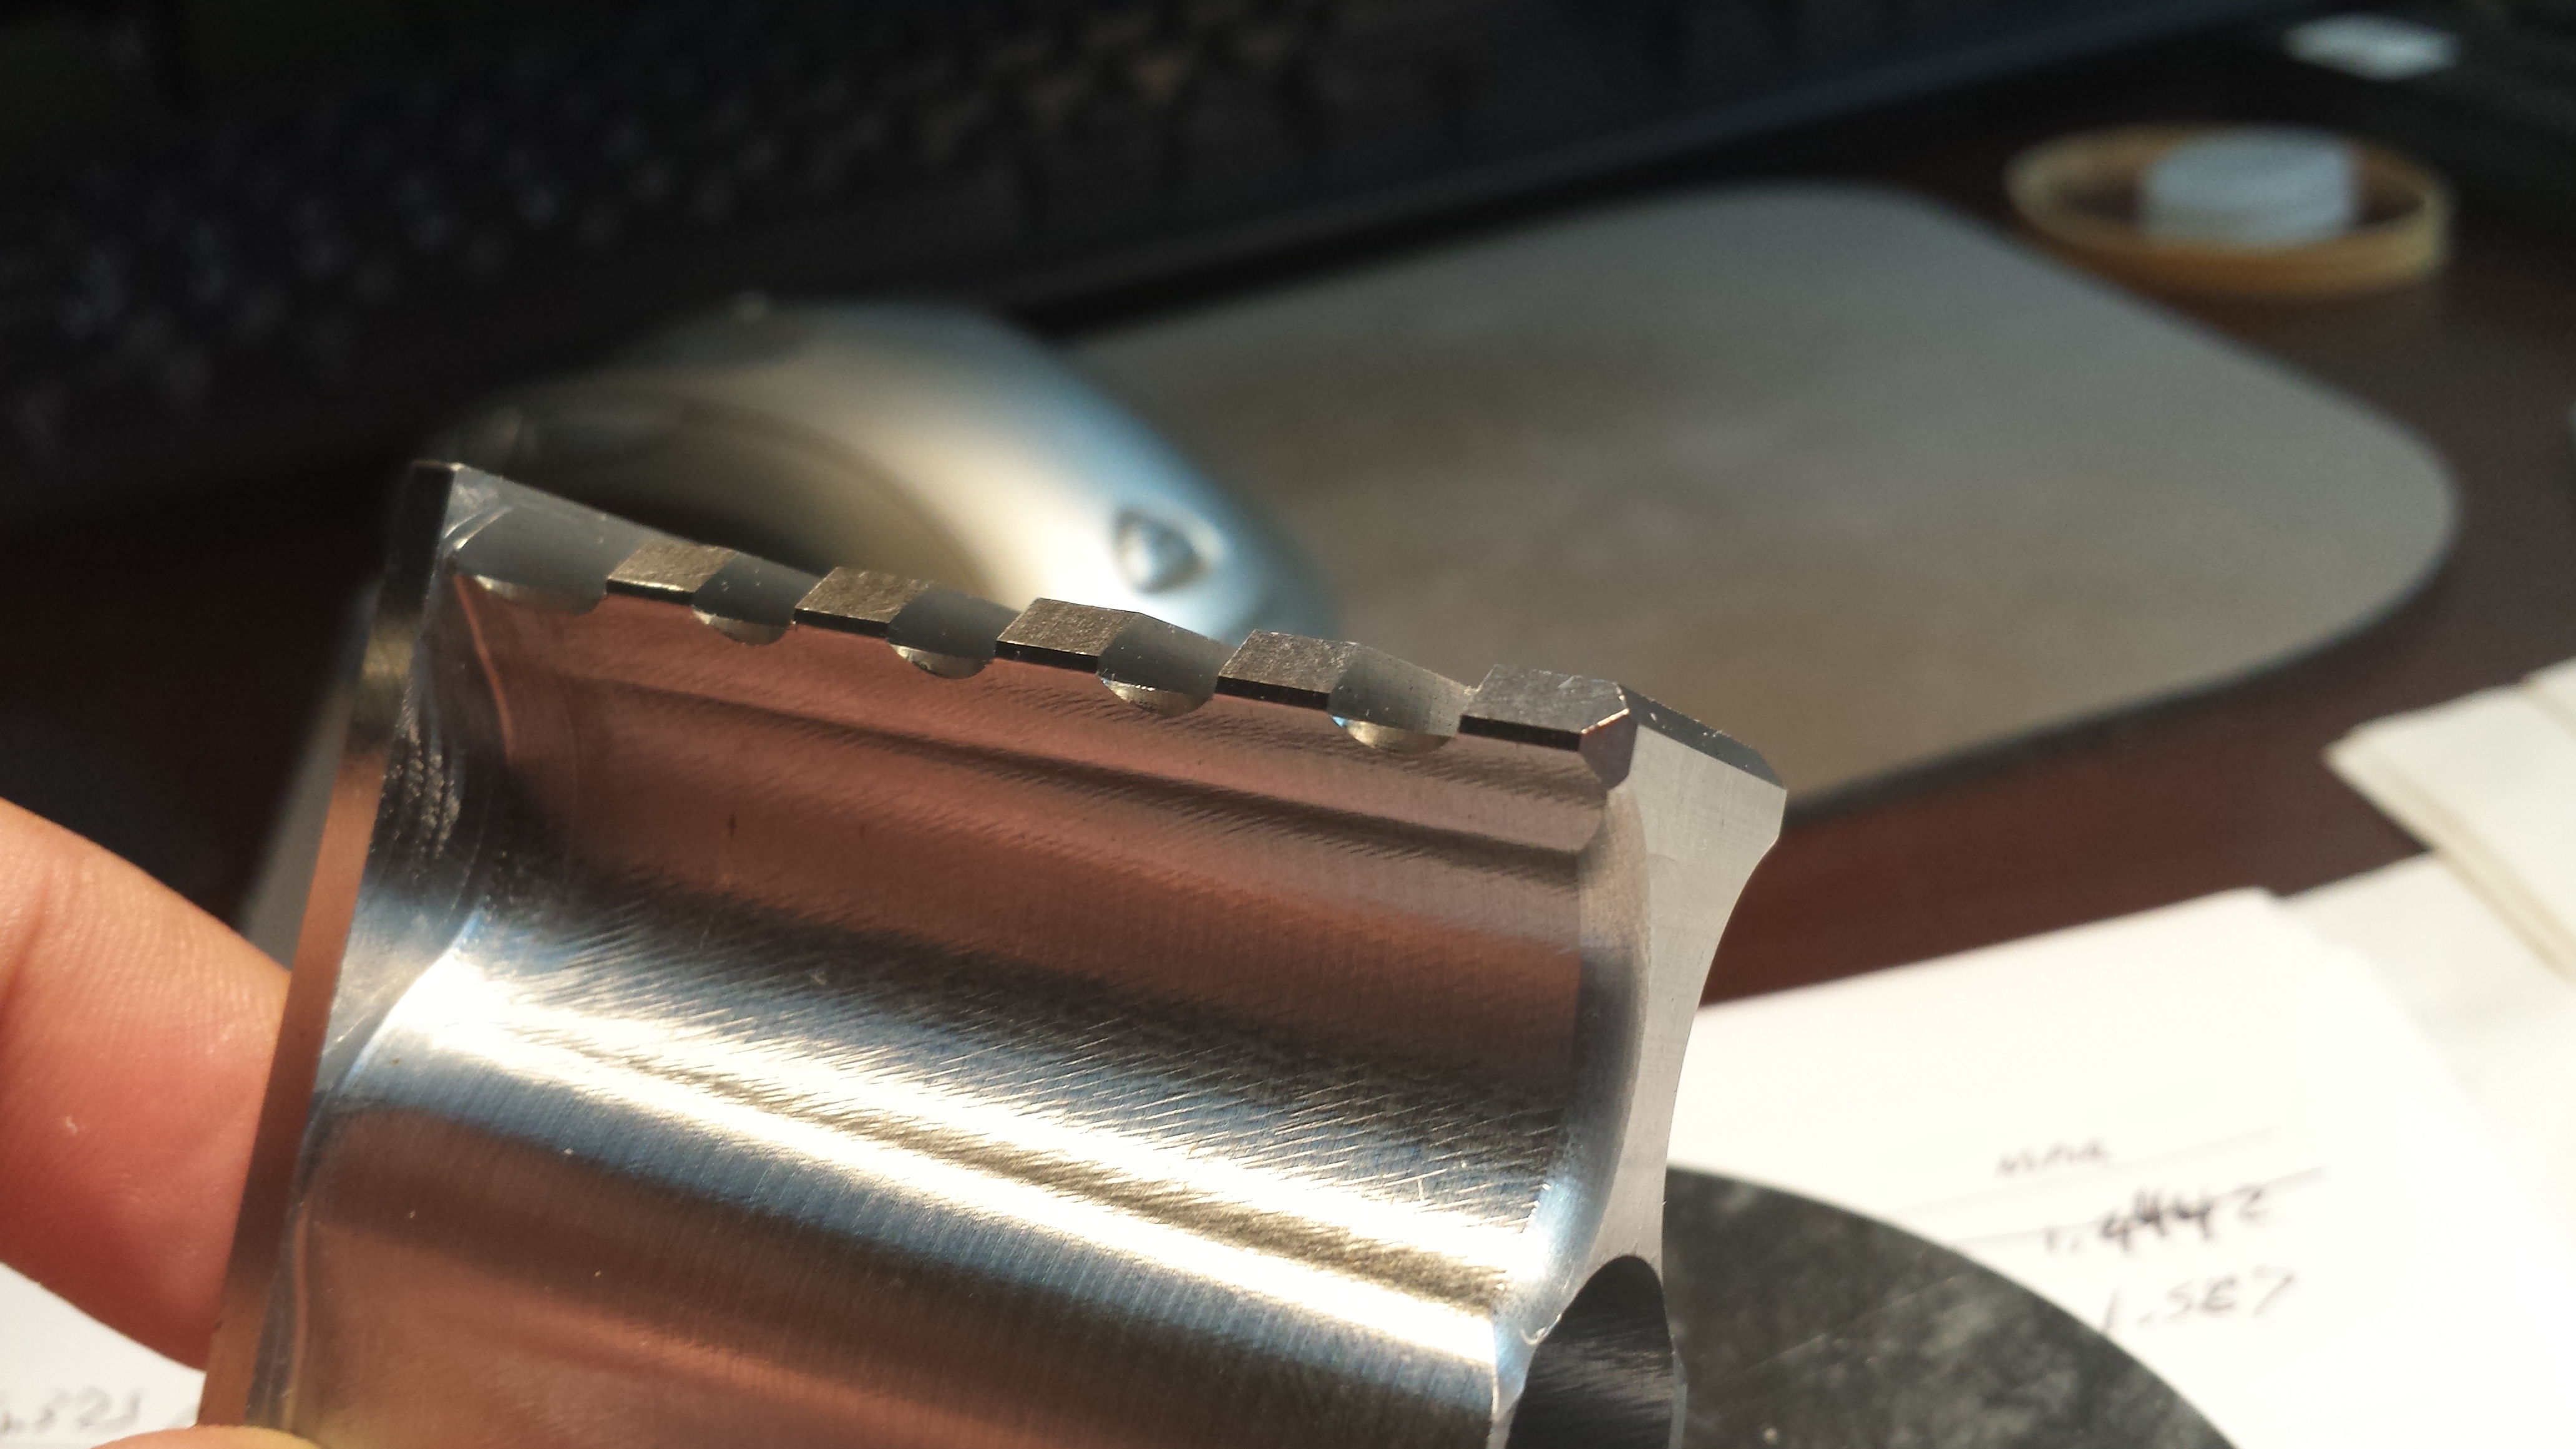
So I was really excited about cutting the recoil grooves of the Picatinny rail for several reasons. First of all it was one of the easiest and most straight forward CAM’ing sessions I’ve had yet. Secondly it cut great using feed and speed data generated from CNC Cookbook’s GWizard Calculator. Thirdly is proved that my idea of simply rotating the fixture plate on its ends to get access to 3 different 90 deg. vantage points was a good one. Yes a 4th axis may make it better but I don’t have one so there. To top it all off I didn’t get any chatter, didn’t break an endmill, and didn’t chip any flutes. There are very few changes going to be made to that code. The versatile 0.1875″ endmill is becoming one of my favorites. Not too big, not too small, it does it all.
Did I mention it turned out beautiful
Next I moved on to the bottom side. This vantage point perplexed me for many reasons. Due to the fixture plate only being held by approximately 0.25″ in the vice jaws compounded by the height of the part above the vice acting like a lever, I wanted to avoid taking any aggressive cuts at all costs. I spent all week racking my brain trying to come up the most efficient and endmill friendly operation as possible. Turns out avoiding a full slot wasn’t really practical so I bit the bullet and started with that. To my surprise it sounded great. The old motor made me very leery of trying that again after ruining so many nice endmills from stalling. That first slot with the 0.375″ rougher was probably one of the most aggressive cuts I’ve taken with that endmill and the rigidity of the setup wasn’t an issue. The 0.1875″ slotting didn’t sound bad at all until the chatter started when the DOC became too high, I’ll fix that, and the little ledge on the sides from the radius endmill isn’t a big deal, I’ll just program in another 0.001″ or 2 of birth for that cut.
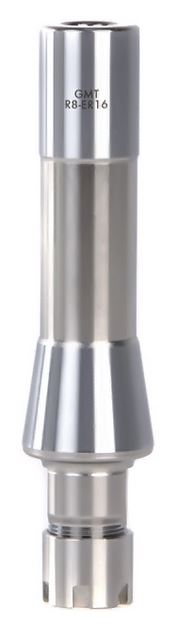
The rest of the machining on this side, specifically the sling swivel socket and rotation limiter will have to wait until I can get some more ER collet chucks and collets from Glacern Machine Tool. I keep running out of available slots on those so fast it’s amazing. I’ve become a huge fan of Glacern’s ER16 collet holders with the slim nut and try to use them whenever I can. ER16 goes up to 3/8″ which is probably 90% of what I have, the other 8% can be filled by ER25 which goes up to 5/8″ and the last 2% ER32 which goes up to 25/32″ (0.78125). I need to get rid of all my ER40 collet chucks that I only got because they were on sale and cheaper. They’re too big and make getting coolant on the tool problematic.
GMT ER16s slim nut collet chuck can hold up to 0.375″ diameter tools
I mentioned in the video that I wanted to do as little machining as I could get away with on this bottom side and that is because of minimizing tool changes as well as tool stickout. There were a few 3D milling operations I could have done from the bottom side but opted to instead do them from the side and one reason is that big beautiful lightening pocket. That pocket requires a 3D milling operation and the only way to get to it is from the side, so why not do it all from the side. Just put in a ballmill and let the machine do its thing for awhile. The added benefit of course being that I can use much shorter tools like a stubby 0.125″ ballmill or even a 0.0625″ ballmill.
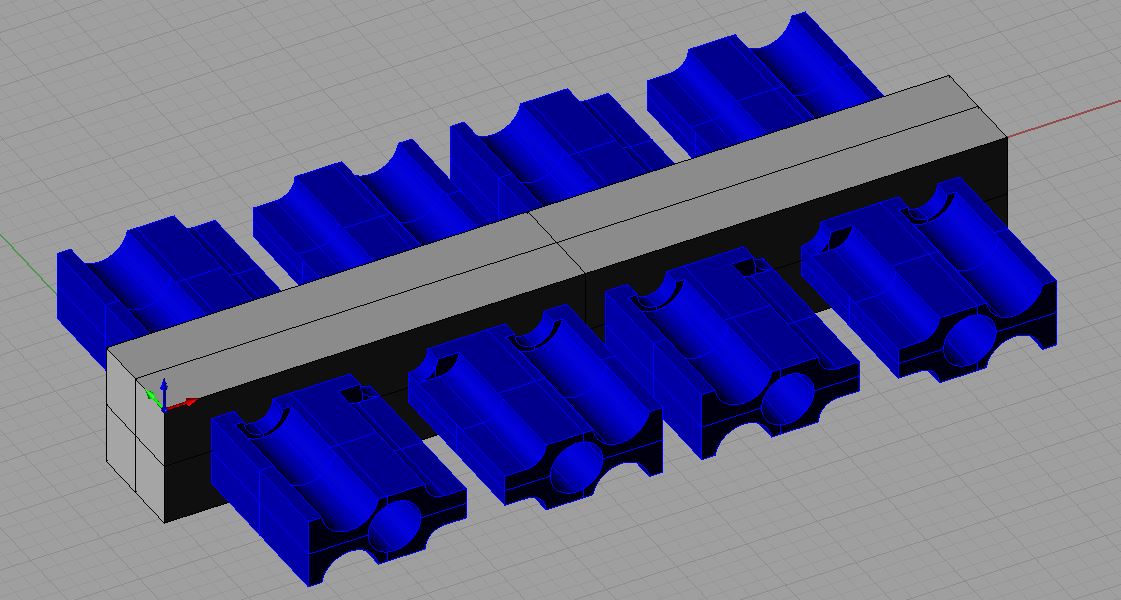
While I’m waiting on putting together another tooling order, I’ll work on the next fixture plate which will hold the parts horizontally and also allow me to flip it over to get at both sides. Which I envision looking something like this:
Thanks for watching and reading! Don’t forget to subscribe to my Youtube channel, to this blog, and to like my facebook page to stay current with updates. All of which you can do in the side bar to your left. Also share my content if you can by whatever means you prefer and make comments below to let me know if you like what I’m doing. See you next week!